

In any municipal or private water system, the outdoor fire hydrant is the most visible line of defense. However, even the most robust outdoor fire hydrant can fail if it is not installed correctly. Improper depth, poor drainage, or inadequate support can lead to pipe bursts or frozen valves in critical moments.
As a premier fire fighting equipment manufacturer, Hengdun Firefighting provides this comprehensive guide to ensure your installation meets international standards like NFPA 24.
Pre-Installation Checklist: What You Need
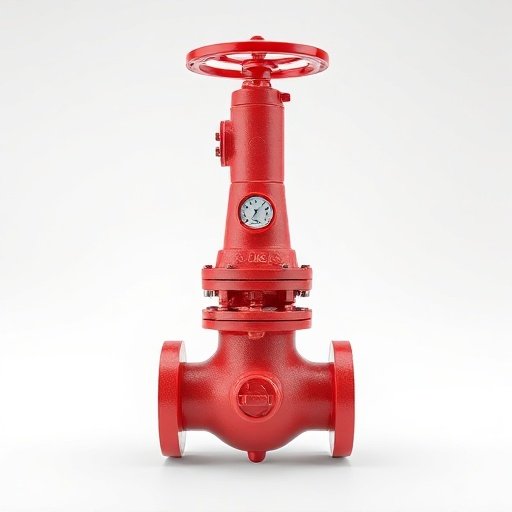
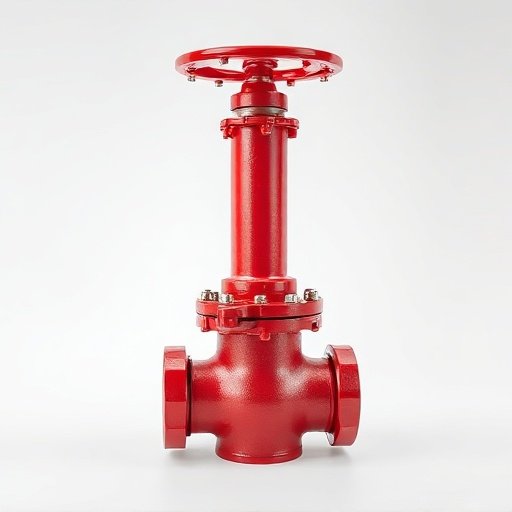
Before groundbreaking, ensure you have the correct hardware. Verify that your fire hydrant valve and body meet the local project specifications (e.g., thread type, bury depth, and pressure rating). You will also need:
- Standard tools (hydrant wrench, level, torque wrench).
- Concrete for thrust blocks.
- Washed gravel for the drainage layer.
Step 1: Excavation and Foundation Preparation
The trench must be deep enough to place the hydrant base below the local frost line. The foundation must be firm and level. If the soil is soft, a concrete base pad or reinforced stone layer is necessary to prevent the hydrant from settling, which could strain the connected piping.
Step 2: Connecting to the Water Main
Once the trench is ready, align the hydrant inlet with the branch pipe from the water main. Most professional installations use flange-to-flange connections or mechanical joints. Ensure the gaskets are clean and the bolts are tightened to the manufacturer’s recommended torque to prevent leaks under high pressure.
Step 3: Thrust Blocks and Drainage Gravel
This is the most critical technical step.
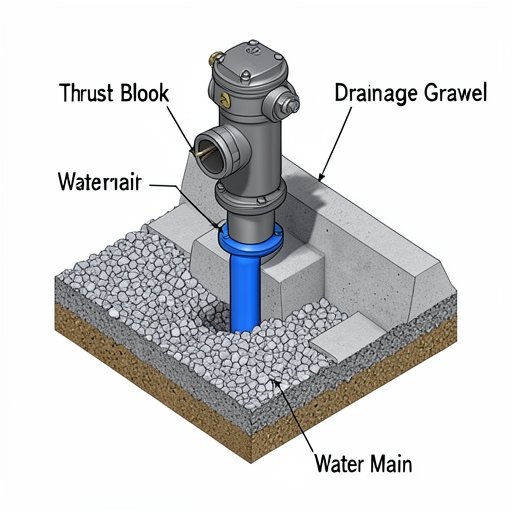
- Thrust Blocks: Pour a concrete block behind the hydrant base (shoe) against the undisturbed soil. This prevents the force of the water from “pushing” the hydrant off the pipe when it is opened.
- Drainage Layer: For dry barrel fire hydrants, you must surround the drain holes at the base with at least 0.3 cubic meters of washed gravel. This allows the water remaining in the barrel after use to drain into the soil, preventing the hydrant from freezing in winter.
Step 4: Backfilling and Final Grade Adjustment
When backfilling, ensure the “breakaway flange” (the safety joint near the ground) is positioned at the correct height—typically 50mm to 150mm above the final ground grade. This ensures that if a vehicle hits the hydrant, it breaks safely without damaging the expensive underground piping.
Step 5: Testing and Flushing the System
Before the project is signed off, the system must be flushed to remove any construction debris (rocks, weld slag) that could damage the internal valve seats. Finally, perform a static and residual pressure test to confirm that the fire hydrant installation is leak-proof and provides the required flow rate.
Why Source Installation-Friendly Hydrants from Hengdun?
At Hengdun Firefighting, we design our hydrants with the installer in mind. Our high-strength ductile iron bodies feature:
- Modular Breakaway Kits: Making repair and height adjustment simple.
- Precision Machined Valves: Ensuring smooth operation even after years of burial.
- Automatic Drain Mechanisms: Reliable seals that guarantee proper drainage every time.
FAQ
What is the recommended bury depth for a hydrant? The bury depth depends on your local climate. The valve at the base must be situated at least 30cm below the maximum recorded frost line in your region.
Why is drainage gravel necessary for dry hydrants? Without gravel, the drain holes can become clogged with dirt. If water stays in the barrel and freezes, it will expand and crack the hydrant body.
Conclusion
A professional fire hydrant installation is a long-term safety asset for any community. By following these steps and choosing quality hardware, you ensure that the system is ready for the ultimate test.
Planning a large-scale project? Contact our technical team for CAD drawings or wholesale quotes for your outdoor fire protection needs.